AO1
Develop ideas through sustained and focused investigations informed by contextual and other sources , demonstrating analytical and critical understanding
Develop ideas through sustained and focused investigations informed by contextual and other sources , demonstrating analytical and critical understanding
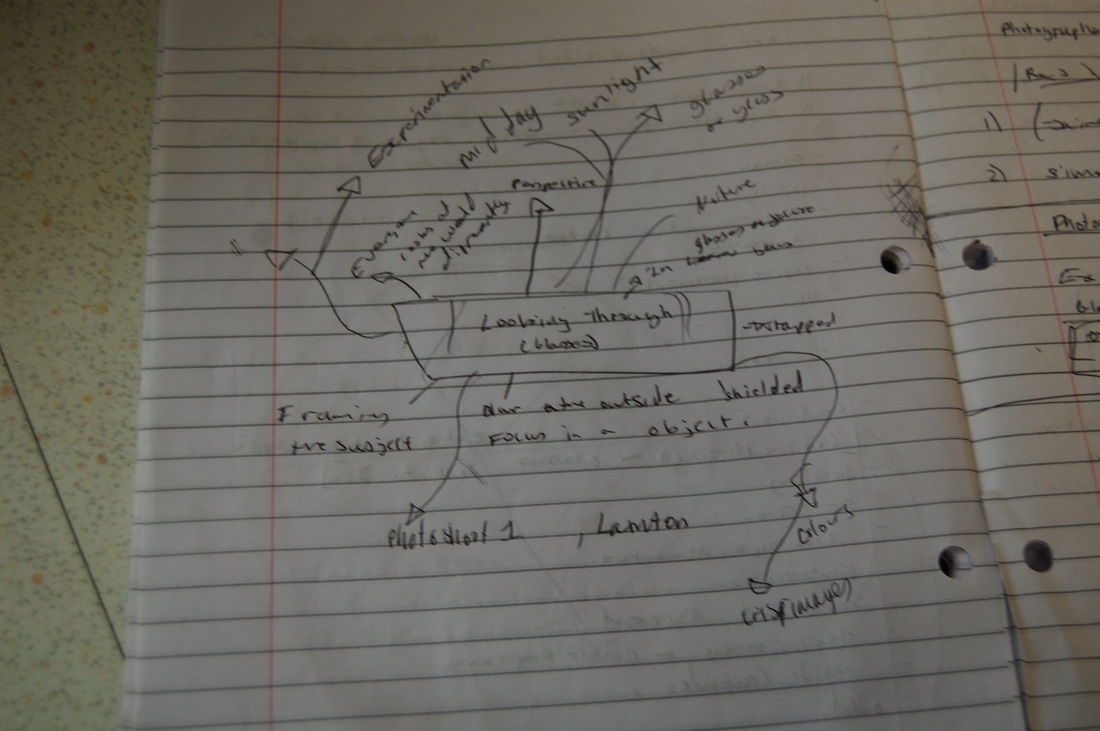
Mind Map/ Brainstorm
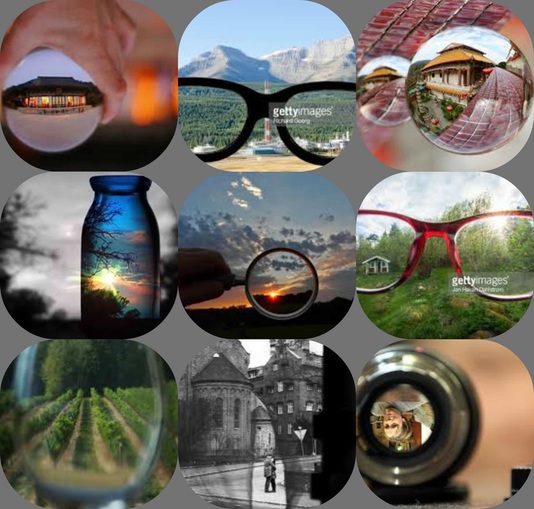
Mood Board
Idea Sheet
Artist Research
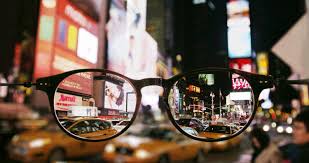
Simon Bond

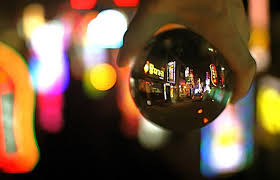
My Favourite images
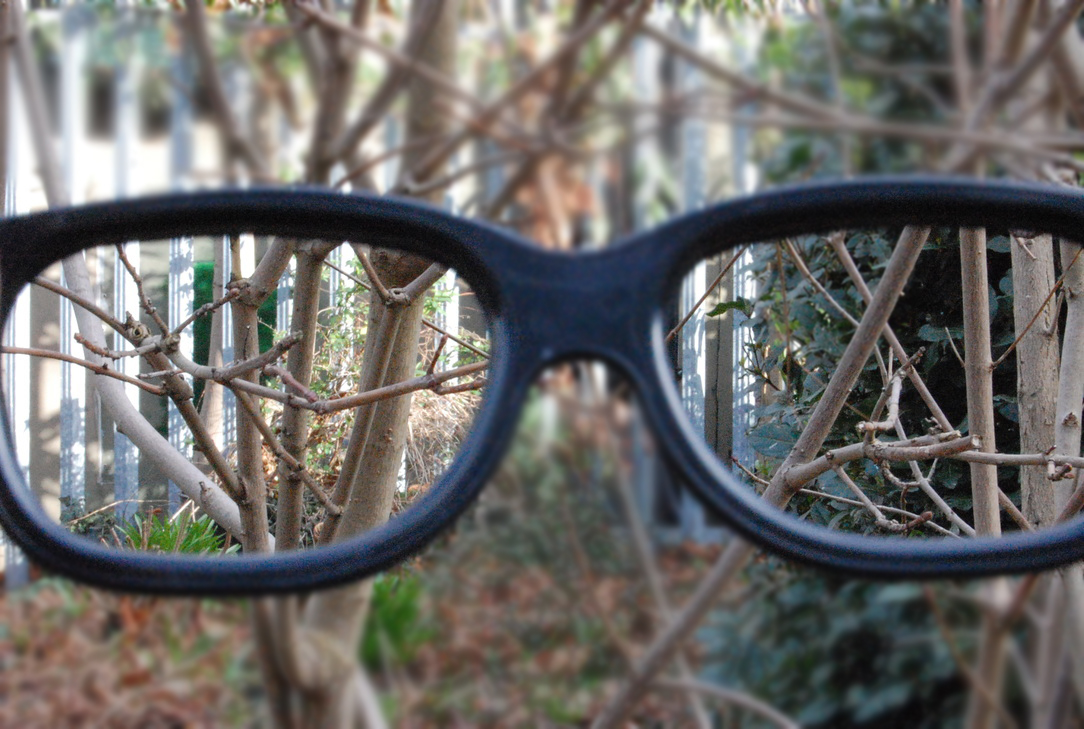
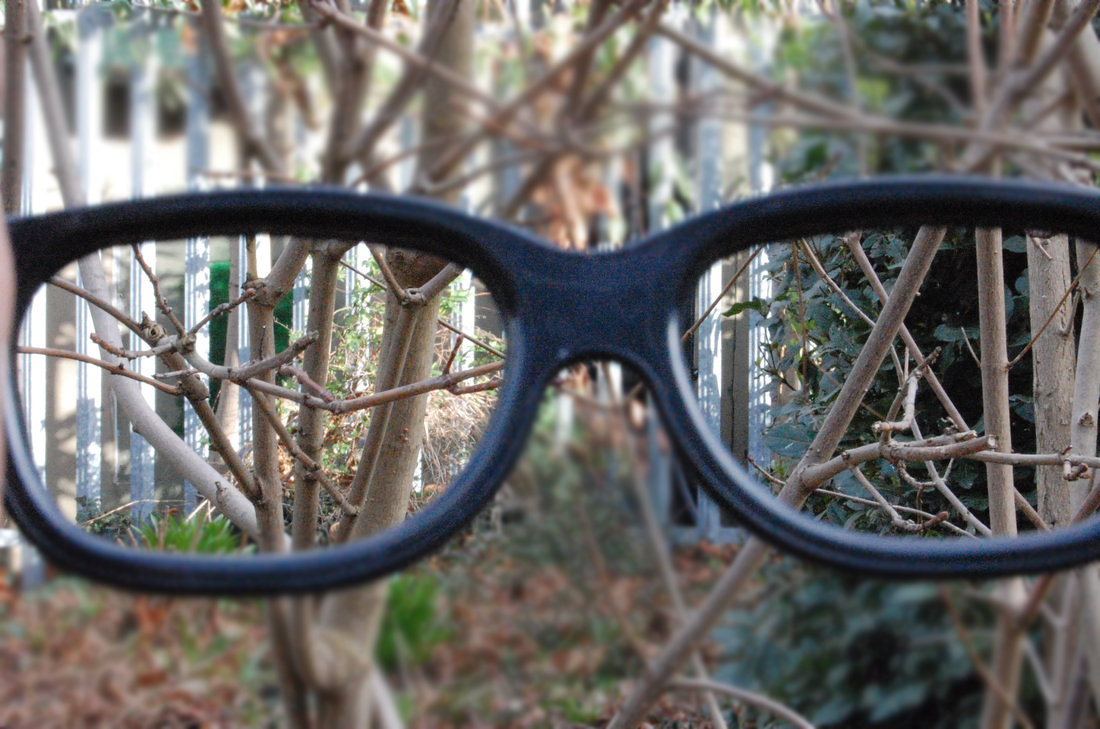
This is one of my favourite images from the series because in the bubble it expresses a new perspective of the surroundings. It creates an illusion. I like that only the inside is focused. This links to my work because of the nature that is captured and the surroundings. However this is also different to my work because of the object that he is looking through. From the photograph we can see the composition is planned. I can see in the picture that the colours are green. The greens contrast each other.
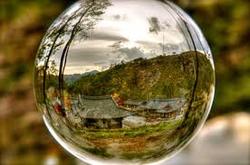
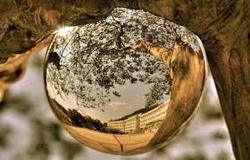
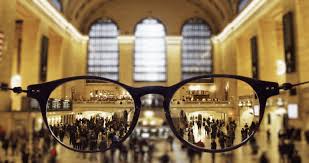
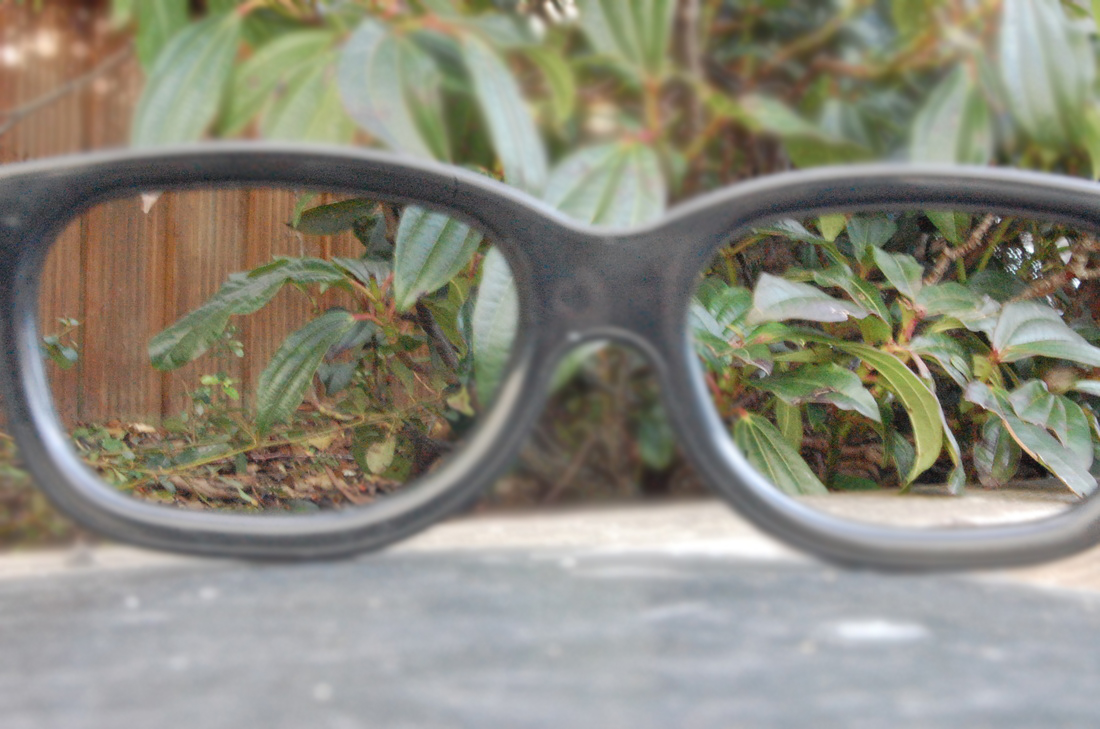
This picture is similar to the picture above. In this picture the greens contrast with each other more. This is because nature is expressed more in this picture than the one above. I like this picture because images are shown in a type of illusion. This is because the houses are bent and twisted. This image is made into a surreal image. The photograph is exaggerated. Inside the object the image is much more crisp but outside the object the image is much more blurry.
Jaime Beck and Kevin Burg
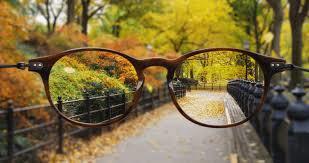
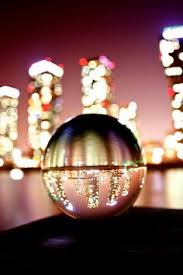
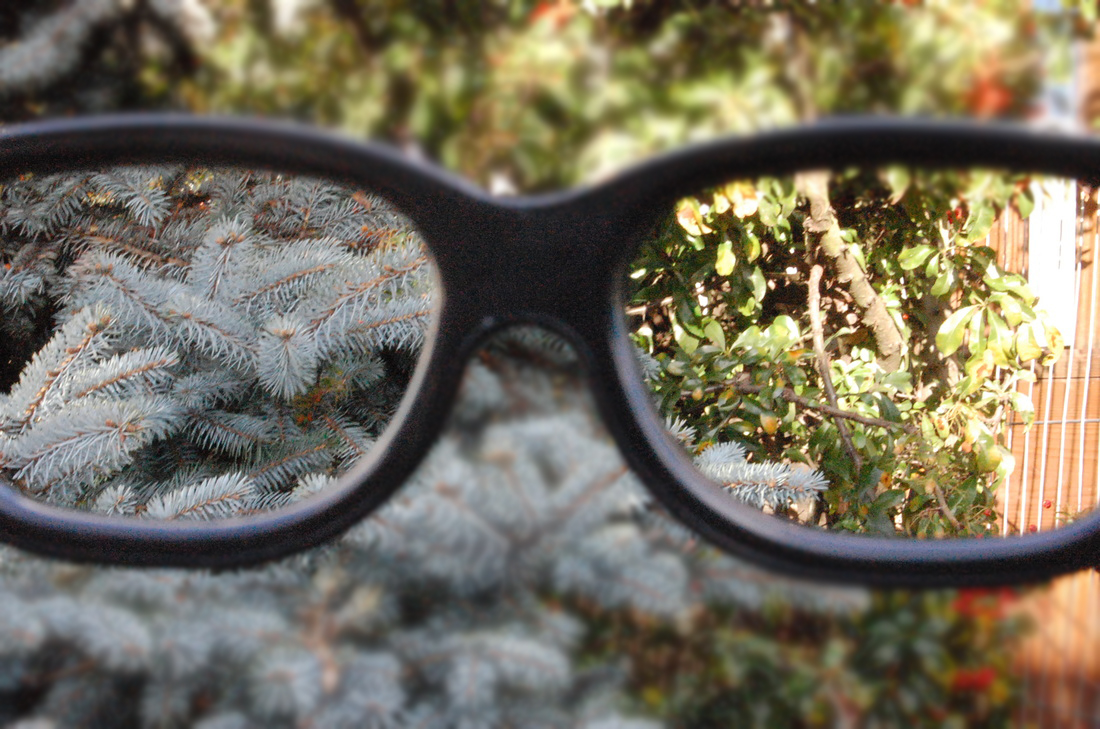
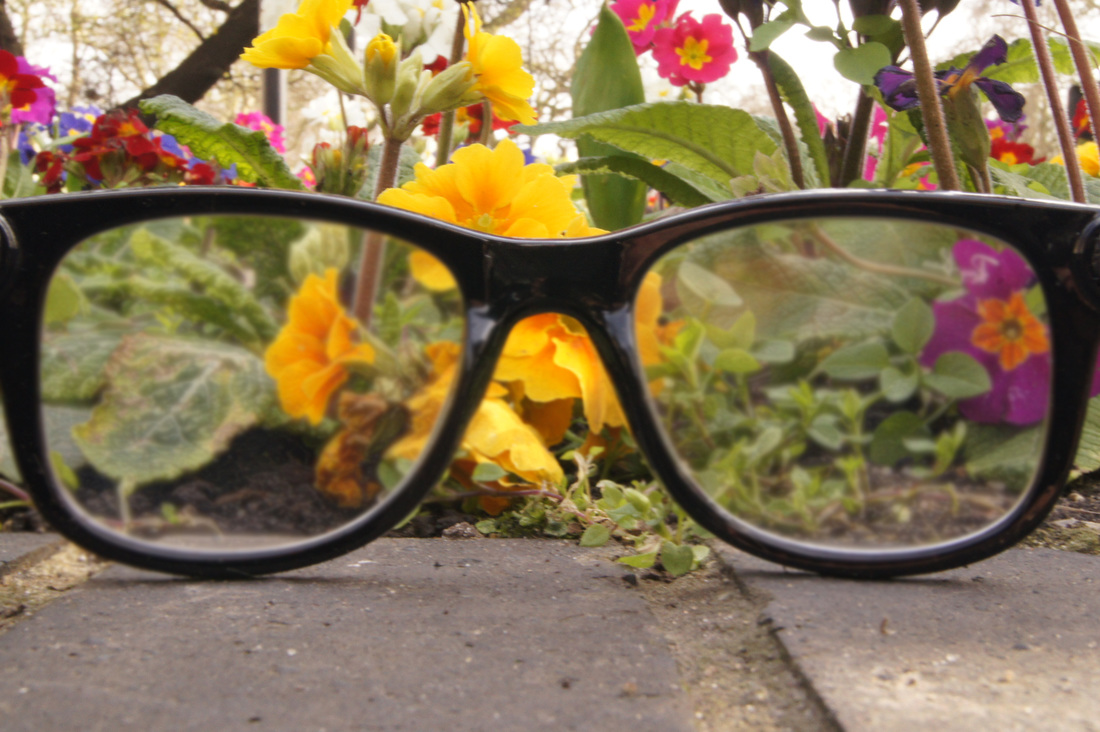
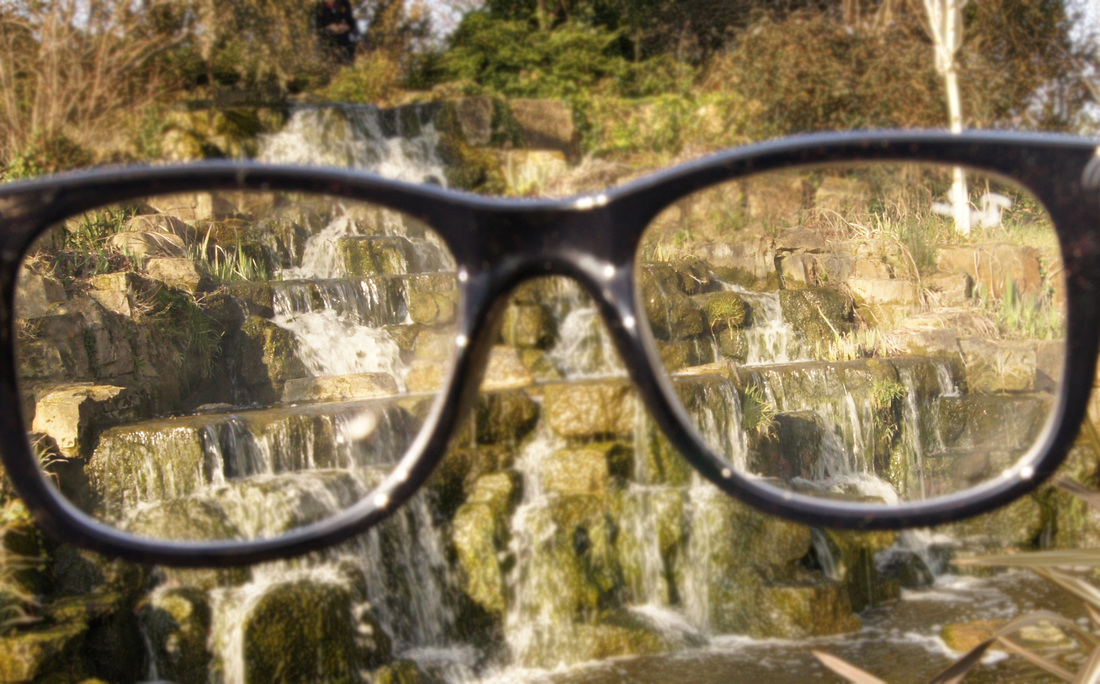
I like this picture because it's different to other pictures. This is because the glasses are further back and the focus of the picture is nature. This picture links to my idea because of the glasses and the surroundings and the nature in the background. The colours are expressed more vividly.
AO2
Explore and select appropriate resources, media, materials techniques and processes, reviewing and refining ideas as work develops
Explore and select appropriate resources, media, materials techniques and processes, reviewing and refining ideas as work develops
Photoshoot 1 (Practice)
Objective: To practice the style through glasses
Location: Outside my house
Why the photoshoot is not working
This is the first attempt of the style. The reason it was unsuccessful because the aperture settings on the camera was wrong. This is shown by the camera looking shaky and unfocused. Also to improve the photos in the future is practice with glasses without lenses or glasses that only have glass as the lens. This will lead to the picture inside the lens being more clear and crisp. Next time I will try to take more photos with or without lenses. Also it would be better if I used more big and round glasses. This would get a better image. From this photo I will make the next photo better by making the colour more crisp and vivid by focusing more. Making the aperture better to make the photos more focused.
Photoshoot 2 (Practice)
Objective: Improve first photoshoot
Location: Lampton School
Best Photos (After Photoshop)
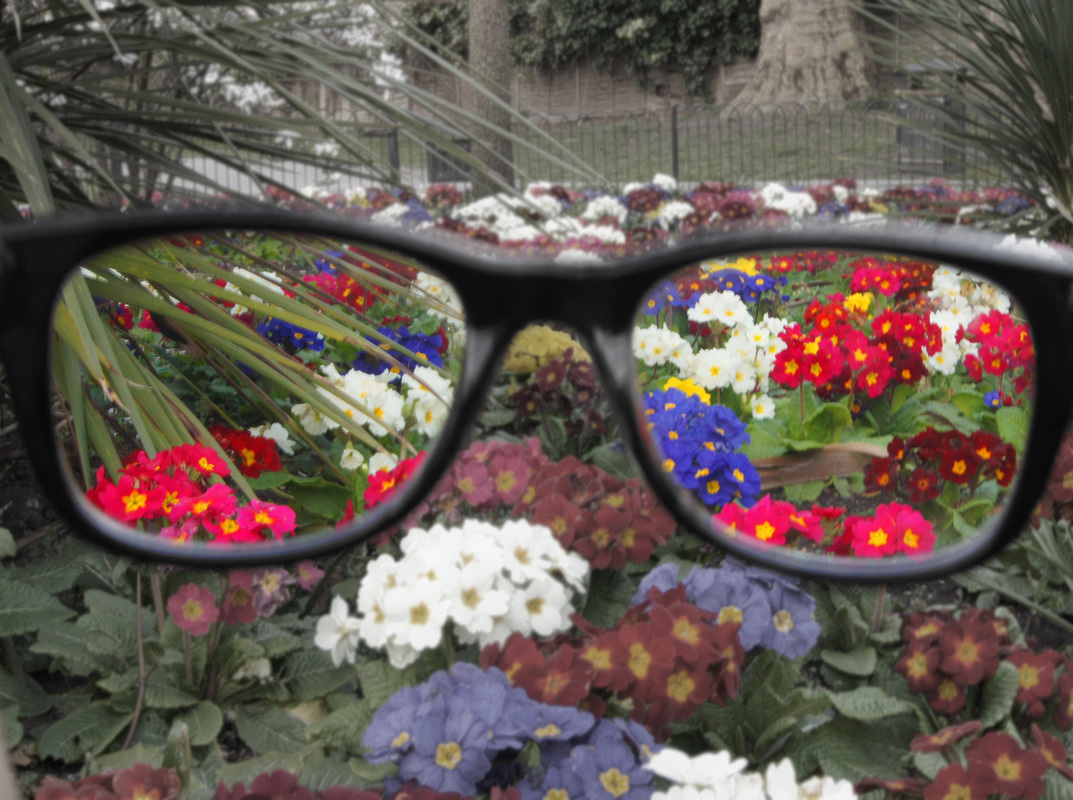
These photos are good because they show the objective, which is shooting through glasses. They also show further improvement on the aperture. The aperture is small which means the F stop is high (36). This means not a lot of light is let in to the camera. These pictures are good because they capture nature. The blur tool I used to keep the focus in the lenses of the glasses and not on the background. This is shown by the pictures above. The way I can improve in the next photoshoot is find a more appealing location, with various colours and contrasts. In the next photoshoot I will take pictures when the environment is more colourful and vibrant. This is a way to improve my photography because it will become more final piece standard.
Screenshots of Photoshop

The one on the left is before and the one on the right is after photoshop work. I made the photo on the right blurred on the outside of the frames. I've don this by using the blur tool on photoshop. The blur tool is the tool shaped as a tear. The way to make the outside Blurred is to put the blur on normal and click over the things you want to blur. The reason you should do this is to make the not blurred things the focus and to make them more crisp. This means the viewer is only focused what's in the frames. There is also another way of blurring the picture, this is to click filter and than blur. This automatically blurs the whole picture. Then to get rid of the things you don't want to blur you erase it with the rubber shaped icon. This is a way of blurring. However I think the first way explained is better.
Photoshoot 3
Objective:First photoshoot through frames on location
Location: Regents Park
Best photo's after photoshop
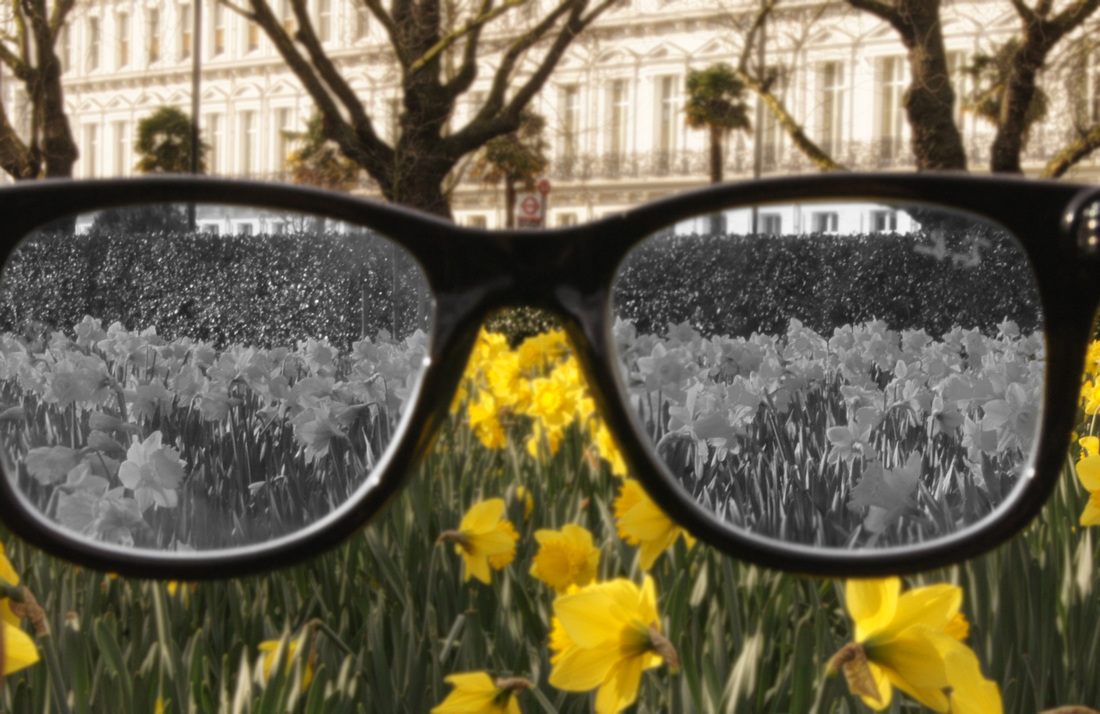
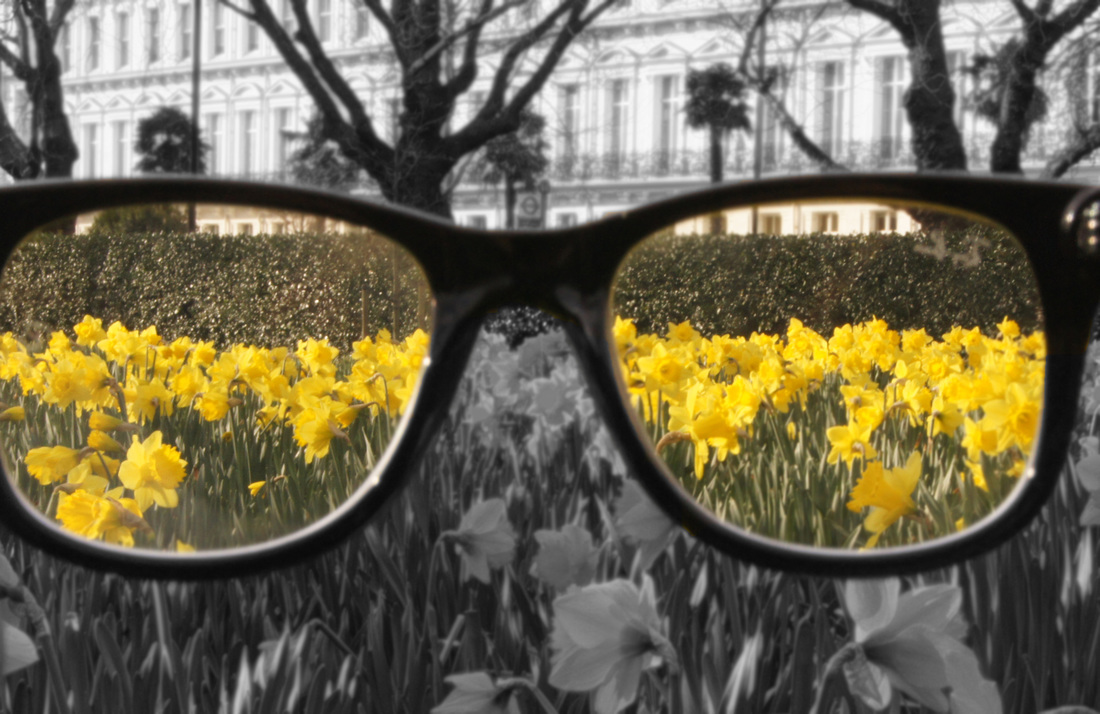
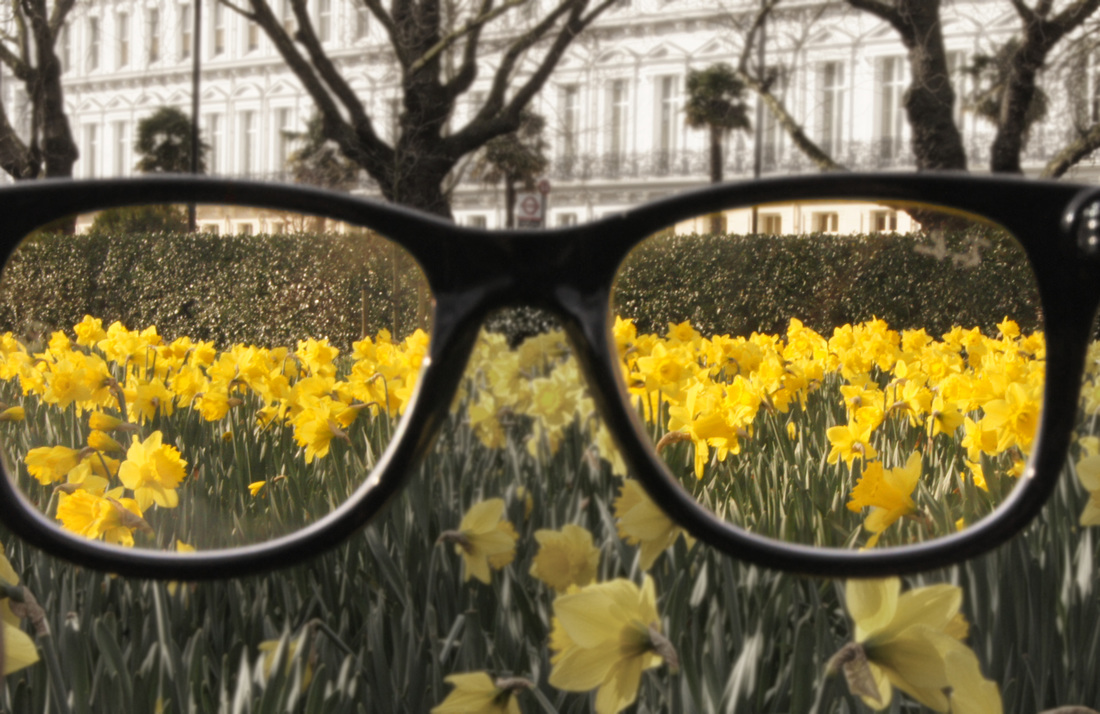
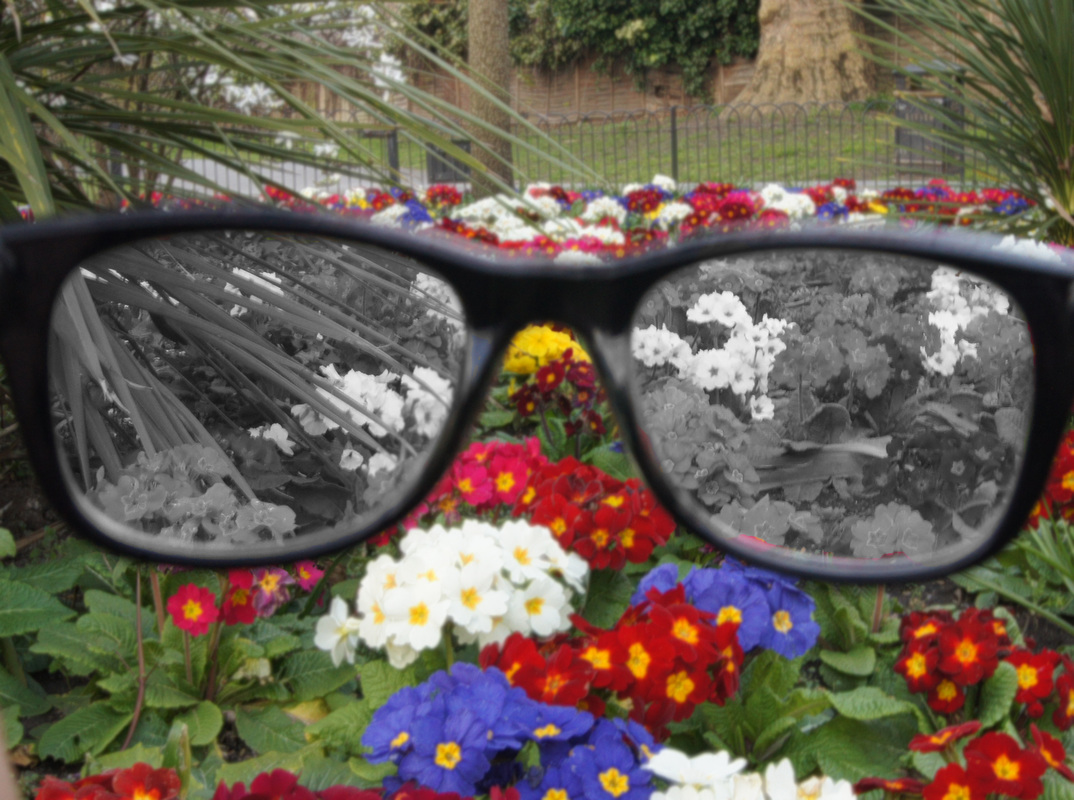
The photos above are all different because the photo on the left is blurred on the inside not the outside. This is because the outside of the photo is more interesting than the inside of the frames. The picture in the middle is different because the outside is blurred and the inside is black and white. This adds definition to the inside. The picture on the right the outside is blurred and black and white. This is my favourite variation of the picture because it adds more depth to the picture.
AO3
Record ideas, observation and insights relevant to intentions, reflecting to intentions, reflecting critically on work and progress
Record ideas, observation and insights relevant to intentions, reflecting to intentions, reflecting critically on work and progress
Photoshoot 4
Location: Kyoto Garden
Best Photo's
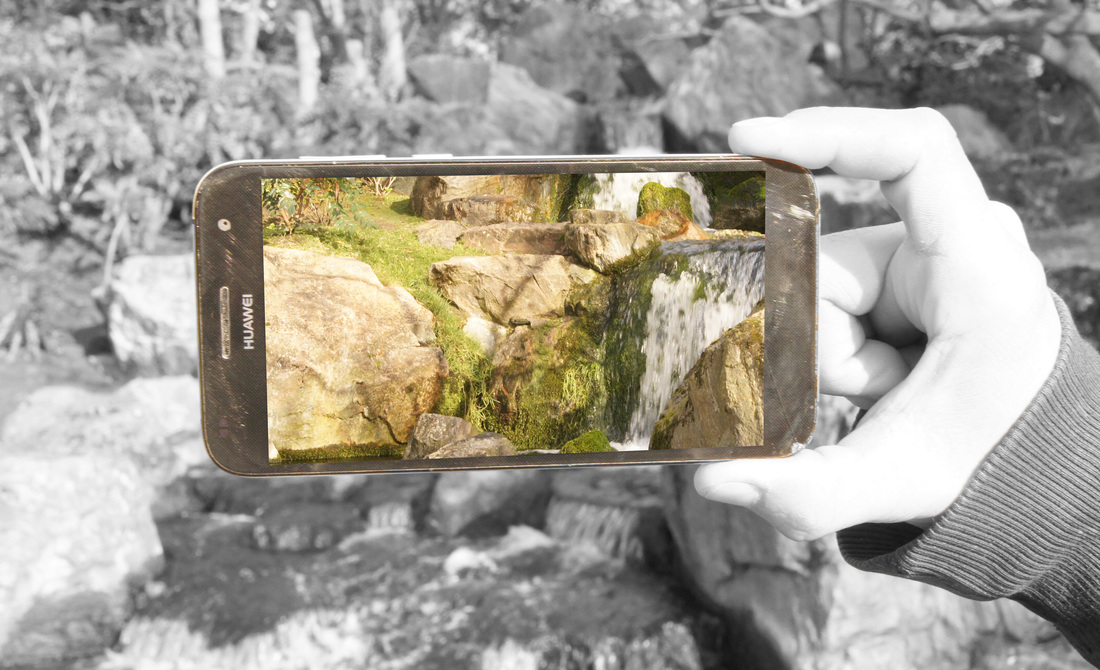
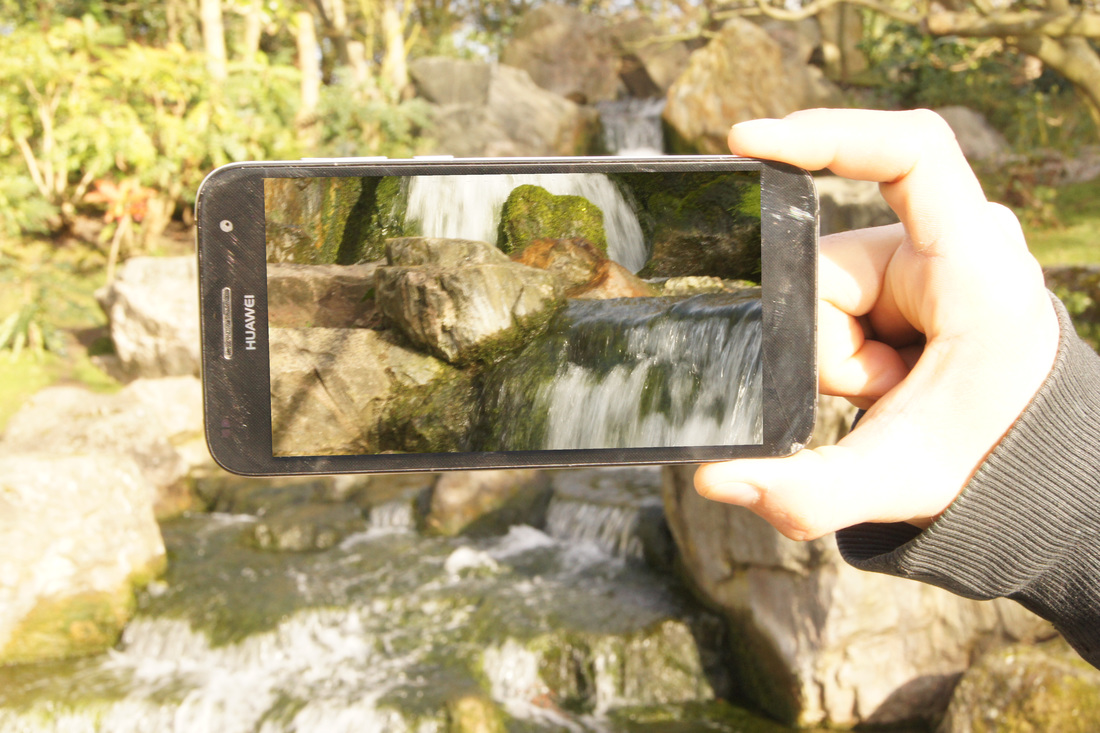
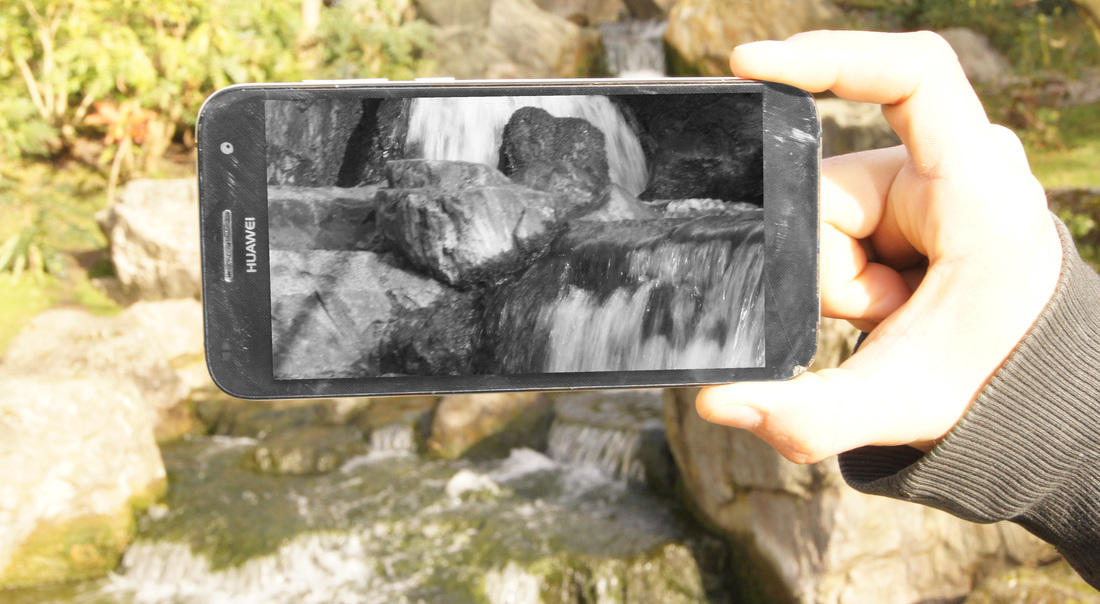
These are the best photos because the use of the phone adds a new perspective of the picture. The phone is centred and the background is blurred. This keeps the focus of the picture inside the phone. The picture inside the phone is crisp. This is because all the background is out of focus.(purposely).
Photoshop Tutorial
To complete the effect you have to take two separate pictures on with the phone and one without but the pictures are then same. The you copy and paste the phone in the picture. Turn the opacity down and line uptake picture. Then you use the tool too put the picture in the phone. If you want the black and white effect you draw around the places you want to be black and white and click image, adjust and desaturate.
Photoshoot 5
Location: Regent's park
Objective:Glasses and waterfall
After Photoshop
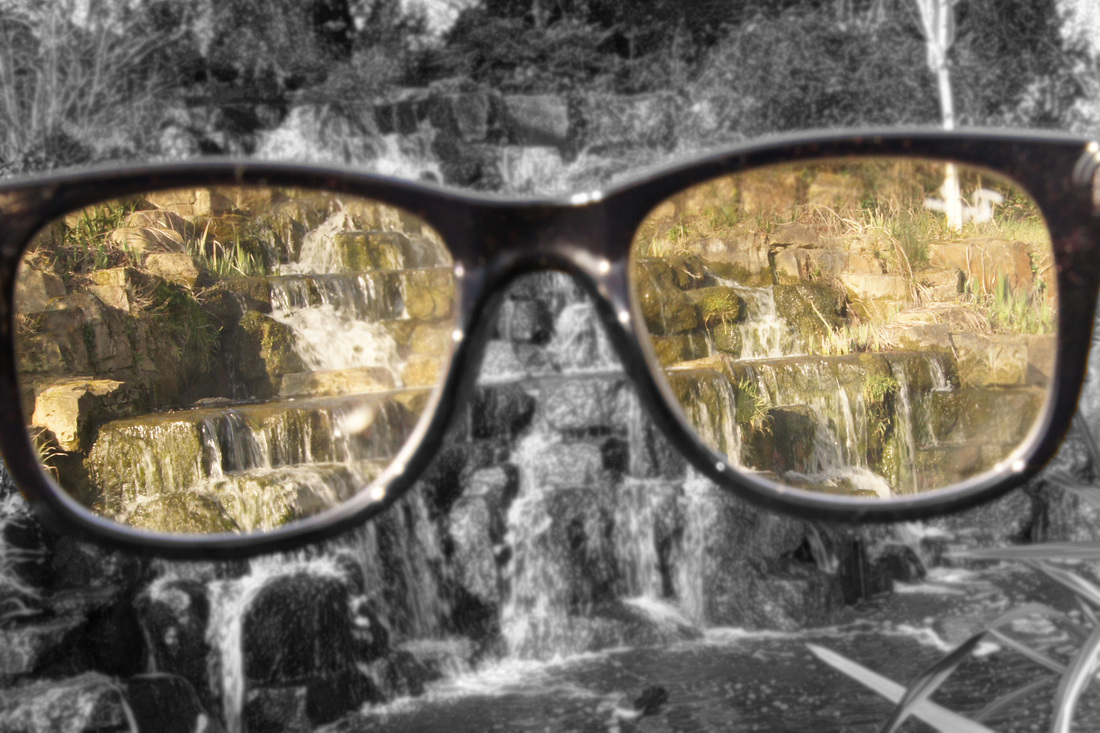
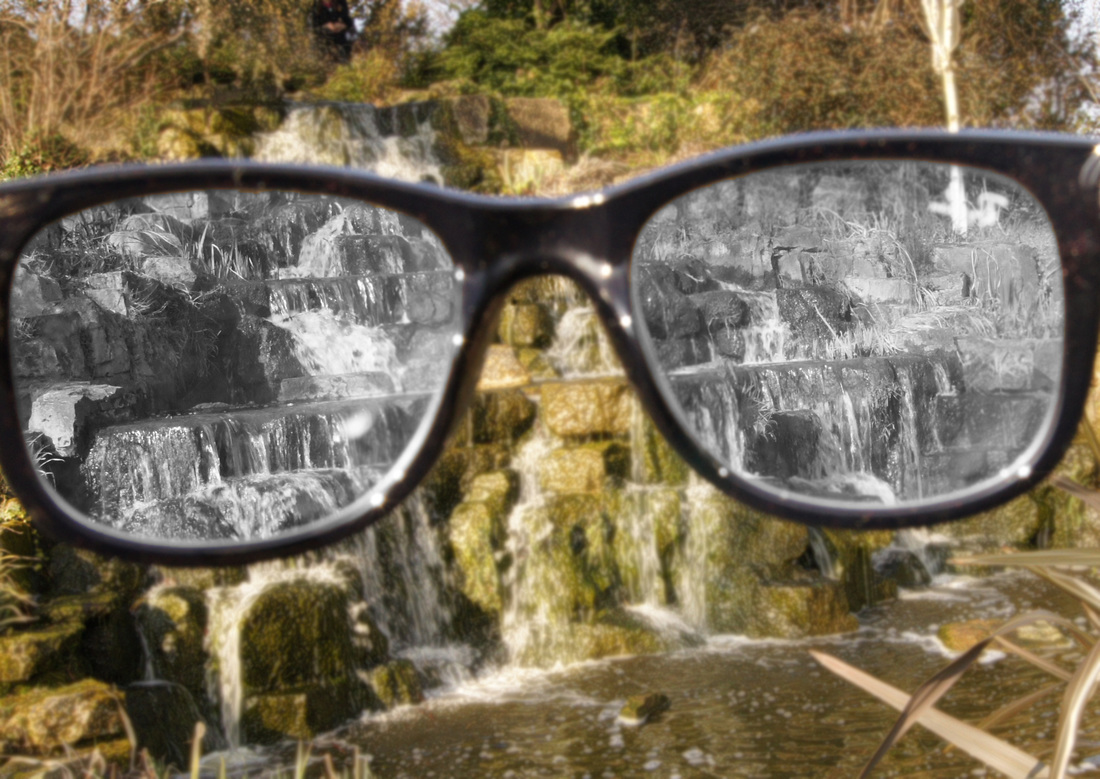
These photos are good because there in a beautiful landscape. It expresses the style of shooting through glasses. Ive changed the picture by making it black and white, and blurring the background. The photo was taken outside and the aperture has to be low and F stop has to be around 32. In this photoshoot I successfully made the picture black and white. In and out of the frames. This has no been perfected to a high standard. However there are ways to improve the picture. The ways are to take a picture of a different background. This is because pictures are becoming a bit repetitive. The way to do this is to make the background more appealing. Too do this take the emphasis of the glasses and on the picture. Next photoshoot I will improve the back ground content. Another way to improve the photo is to make the picture different to my artists work. I think I could include the 5 rules of composition better. maybe I could implement the rule of thirds and maybe change vantage points.
Photoshoot 6
Location: Ravenscourt Park
Photoshop tutorial
The first picture shows the original picture. The second picture shows the blur. The third picture shows how to change the saturation and what saturation I changed it to. The forth picture shows theta the whole of the picture saturation has changed. The tool that allows to highlight the things you don't want to change the saturation. This is shown in the fifth picture. The final look of the picture is the sixth one. This makes the inside of there glasses more crisp.
Best Photo's (After Photoshop)
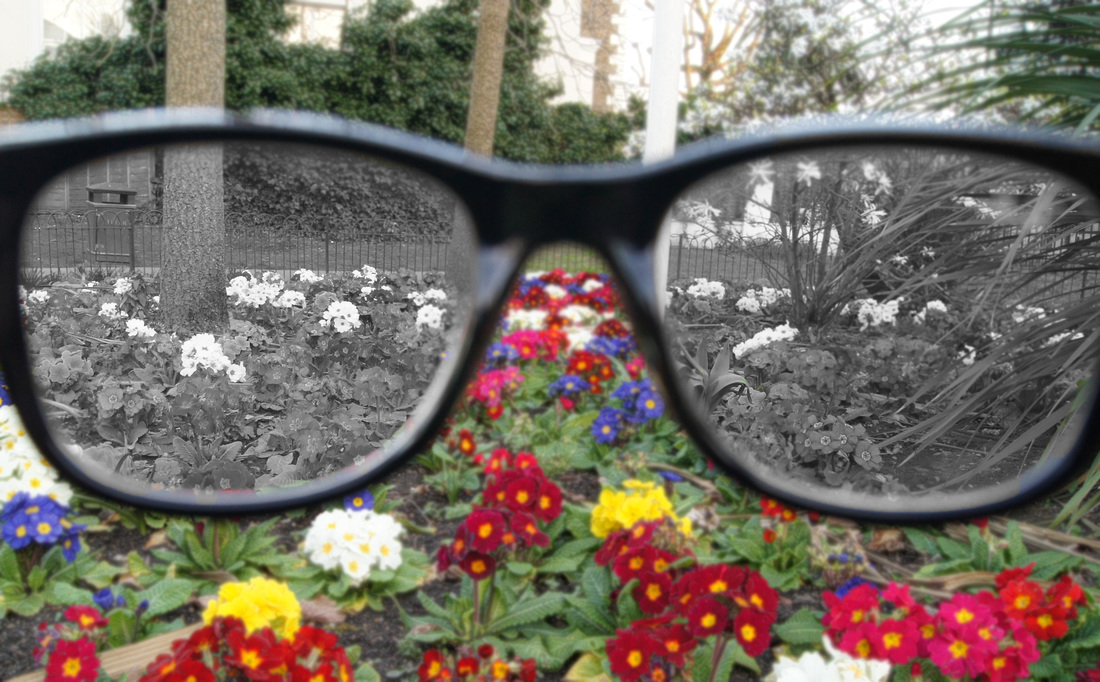
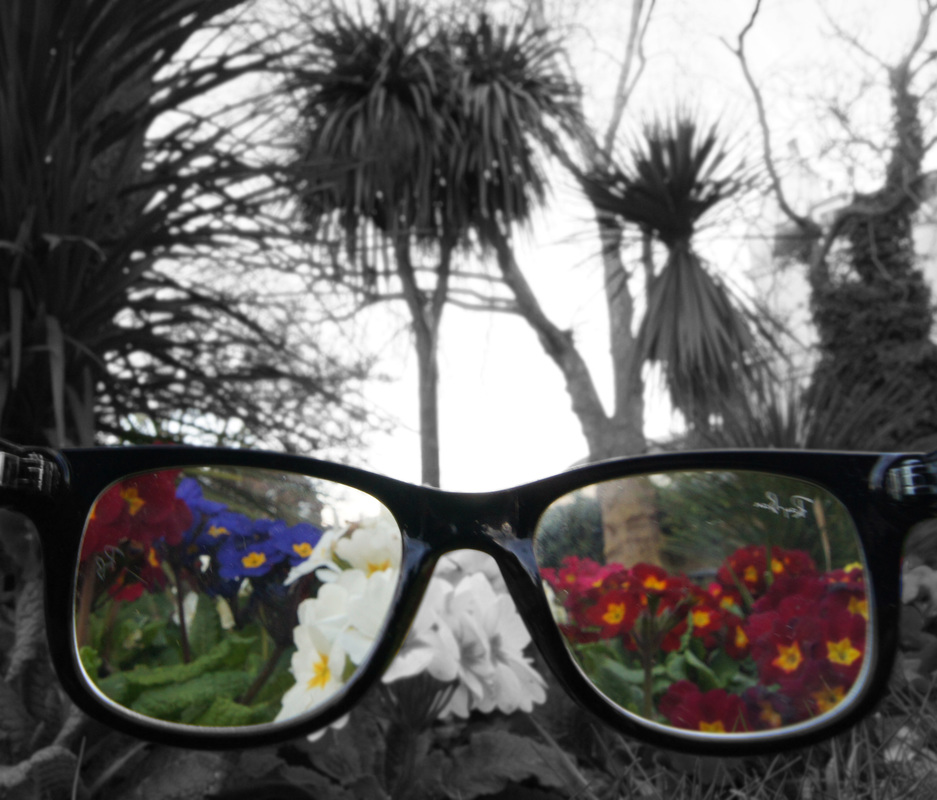
These are good photo's because they have different depth of field and vantage points. The second picture is the best out of the three because its got a different vantage point.
AO4
Present a personal and meaningful response that realises intentions and where appropriate, makes connections between visual and other elements
Present a personal and meaningful response that realises intentions and where appropriate, makes connections between visual and other elements
Final Pieces